Hi everyone. Day 4 at the blog hop which has been going on since Monday. Not visited yet? Check out these links for the full story: MONDAY - TUESDAY - WEDNESDAY
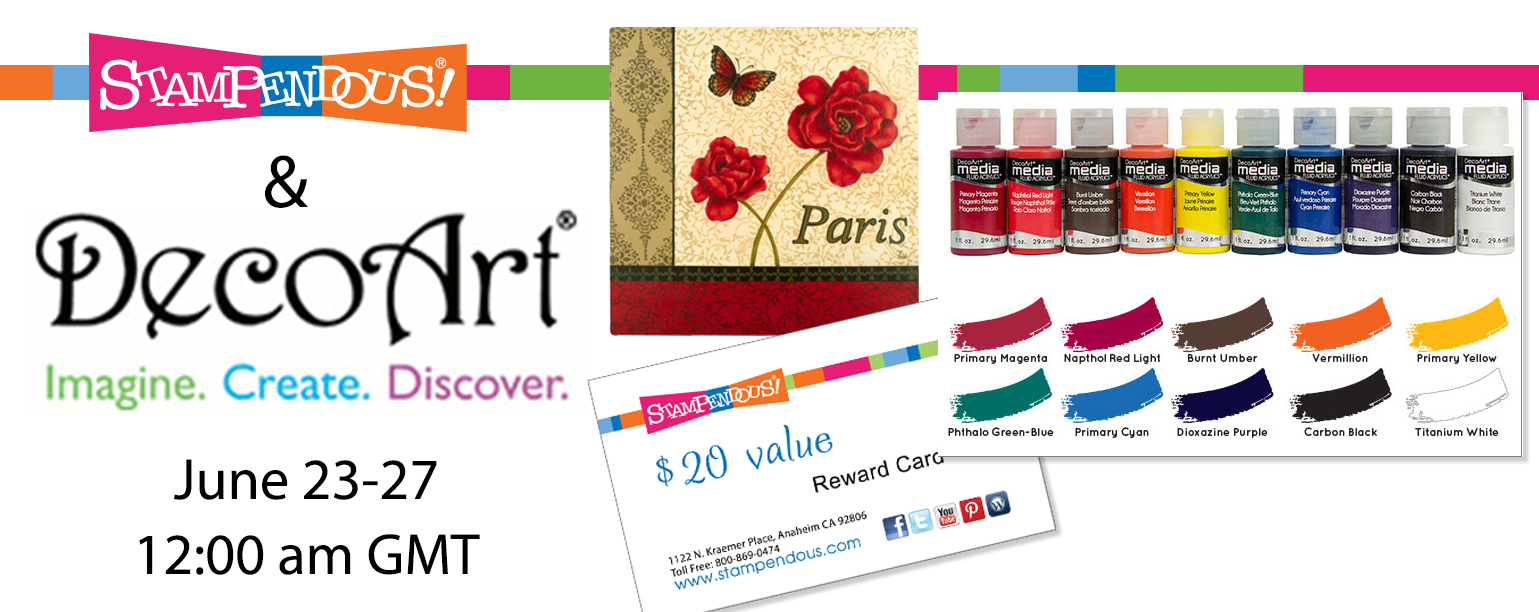
The excitement continues as we lead you on a world tour of amazing artists playing with Stampendous,DecoArt, and Princeton Artist Brushes via inspired by Willow Wolfe products together! You'll be amazed at what they've created!
To take part all you have to do is:
- Visit each blog and leave a comment
- Like Stampendous, DecoArt, Princeton Artist Brushes, and inspired by Willow Wolfe on Facebook!
- Repin our projects onto your Pinterest boards and tag us when you do (#Stampendous, #DecoArt, #PrincetonArtistBrushes, #byWillowWolfe) we'll be tracking!
What's in it for you:
- Stampendous will choose three blog posts from all the designer posts this week and then choose a winner from each to receive a prize package - Princeton Artist Brushes, through Willow Wolfe, is sending a Select 3750 Brush Set and a Catalyst Wedge, and we'll be adding a Stampendous Creative Palette so you can use all the new techniques you'll learn here this week. (America and Canada only)
- Bonus goodies are on offer for some lucky people who SHARE our Facebook posts and Pinterest Pins.
- For International commenters: DecoArt has agreed to mail out three fab Media Paint sample packages to international bloggers as well. YAY!
The Official Rules - Please read!
Here's what I've made for today's hop - hope you like it!
 |
| Partly in shadow I'm afraid as I took the photos on a very sunny day. |
.JPG) |
| I used all the DecoArt products here and something from each of the Stampendous stamp packs and the Creative Palette of course - couldn't get a clearer photo to show the paint shades, sorry. |
 |
| Paint was applied to the Creative Palette with a brayer and the stamp shown was applied all over the palette. Paper was placed over the palette and carefully smoothed. When removed, the paper had the imprint of the stamp in the colour. The dry paper was glued to card then die cut into a tag shape. |
 |
| Lightly coat the tag surface with a transparent shade of DecoArt Media acrylic. Don't worry about the little bubbles. I just dry these with a heat gun and they stay flat/attached. |
 |
| Use the free stencil from the Stampendous stamp pack and apply DecoArt Translucent white acrylic (I LOVE this stuff because it's hugely versatile). I use the lightweight masking tape to hold my stencil down because otherwise, I make a mess! |
 |
| Apply in a few areas on your tag. Note that you can still see the background through the paint. |
 |
| Brush a very thin layer of your chosen colour of DecoArt Media acrylic onto a craftsheet. Gently tap chosen Stampendous stamp into the paint and apply to the tag as required. Wash the stamp straight away! Paint can be scraped off stencils but stamps are not so forgiving! |
 |
| Use another of the free Stampendous stencils to apply a large treble clef using the DecoArt Media paints shown. Dry with a heat gun. I then use a black watercolour pencil to add shadow - I don't add water to it! Note how you can still see images through the paint because I sponged them on gently and not too thick. |
 |
| Using Stazon ink, stamp some script onto a piece of acetate. Allow to dry naturally. Cut acetate so the script is at an angle. Apply to tag with double sided tape but just use tiny pieces. |
 | ||
Antique some mini clips with sandpaper, DecoArt carbon black acrylic and crackle glaze. Place on the tag to cover the small pieces of double sided tape. Make some plastic labels (or any other type!) and apply to tag. (I've used the lyrics from a John Miles track but I've changed the original from 'was' to 'is' because I always sing it incorrectly anyway!) Use a pencil to add shadow as before.
|

 |
| Put a small amount of your chosen paint/s onto a craft mat and dilute with water. |
 |
| Drag some ribbon through the colours until you are happy with the result. Scrunch up the ribbon into a ball and dry carefully with a heat gun. Soooo simple isn't it? |
This project was great fun to make and although I've done it tag size, you could adapt the method to make larger backgrounds which could be cut into ATC's, matting layers, letters, shapes - the list is endless!
Just have fun with these wonderful products!
Finally:
Would you like the chance to win an original piece of work from the one and only Andy Skinner? Yes please I hear you say! Here's what's on offer:

What are you waiting for? LET'S GET HOPPING!!
Louise Crosbie (Scotland, UK)
Debbie Cole (California, USA)
Iliane de Fockert (Elly) (Niedersachsen, Germany)
Julia Stratford-Wright (Suffolk, UK)
Suzanne Czosek (Illinois, USA)
Kathi Rerek (New Jersey, USA)
Wendy Price (New Jersey, USA)
Tobi Crawford (BC, Canada)
Follow these links above. If any don't work, try clicking on the blog header at your destination. These will be corrected throughout the day.